Tuesday, August 13, 2019

Louisiana Crawfish Boil

Start the day off right with fresh biscuits by chef Jayden!!!!!!
Ya'll come see, this!!!


We have the hardest part...waiting...


Michael boiled 50 lbs. of Crawfish for us!


Dancing Crawfish


The first of three baskets of crawfish ready for the boil.


Here is the Cayenne and the boiling spices.


1 dozen lemons, halved


Checking the bag of garlic, bay leaves, and onions.


Looking Good


Taste test

Let's eat!


Chef tastes first, needs more pepper.


Enjoyed the day!


Paw Paw (Mr. Good Wrench) cleans up, after Sunday Crawfish Boil!


We had a good time...


Next weekend is...


The Italian Festival....


Bye y'all!


Sunday, September 25, 2016

Urban Backyard Garden~~South Louisiana

 
After the spring garden's harvest, I gave up and let it all go untended due to the intense tropical heat and daily rains. I am just now getting back out to pull weeds and prepare for fall garden seeding.


Concord grapes, growing along the shop wall, did very well, but I had to cover the fruiting vines with bird netting.

 
Japanese long beans


Riesling grapes


Italian broad beans


                                                             Night blooming cactus


Saturday, April 11, 2015

Homemade Cracker Jack Caramel Corn

Popping corn, peanuts, butter, brown sugar and molasses... oh those flavors!  Brings back memories of childhood balancing with my roller skates on and digging in the box for the prize.  Always hoping I had a diamond ring in the package!
Here is a dandy version of my favorite childhood skate and go snack:

To pop corn:
Measure popping corn to fill a single layer in the bottom of your pot.
Remove corn and set aside.  Pour enough cooking oil just to coat the bottom of the pan. Set on heat, add corn and pop.  Pour popped corn into an extra large buttered bowl.
Add 1\2  to 3\4 cups dry roasted peanuts to popped corn.

In a saucepan melt:
 1-1\2 sticks butter
1\2 cup white sugar
1 cup brown sugar
3 T. Honey
3 T. molasses, I add a bit more because I love he flavor of molasses
1 tsp. Salt
1 tsp. Vanilla
Heat over medium low heat until mixture comes to bubbling and stirring continue to heat at bubbling for 4 minutes.
Remove from heat and add 1 tsp. Baking soda to the hot caramel mixture. Stirring , as it will foam up and lighten in color.  Pour over the corn and nuts, stirring to cover all well. Pour onto a large, buttered baking sheet.  Spread caramel corn out evenly over sheet and place into a 250 degree  oven to bake for 20 minutes.  
Remove and allow to cool.  Store your crisp and crunchy treat in an air tight container (Christmas cookie tins work perfectly)  Enjoy!

Monday, February 23, 2015

Homemade Brown Sugar In Five Minutes!

I learned this while working as a  baker in a major whole foods grocery.  It is the only brown sugar I use now.


 I scoop about 5 or 6 cups of granulated sugar into a mixer bowl.  Pour about 1/4 cup of good quality molasses over the sugar.
 
 
With mixer on low speed, stirring the molasses into the sugar takes about 5 minutes to incorporate  it well enough.  Be sure to scrape sides with a rubber spatula to get all the molasses into the sugar.


It should be a lovely color and very moist when done.  I store in a glass jar and it keeps very well, though I use it up quickly.  The brown sugar is exactly what you would buy in a box at the market, but with a more intense flavor and moistness. 


Thursday, October 9, 2014

How to Make a Gypsy Pie


HOW TO MAKE A GYPSY PIE
 
Also may called "Fairy Pie" or "Elf Pie".
 
On pie making day, hen you have scraps left over after rolling and shaping your piecrust, call in your assistants...
Have these small helpers gather the scraps into a ball and roll out the dough as far as it will go! 
 It's ok if it resembles the state of Texas.  
 Have your assistants place a big dollop in the middle of the dough, of whatever jelly or fruit preserves you have in the fridge.
 Fold the crust over the jelly, and with their little fingers have them pinch the edges of the dough to seal the pie. 
  Allow the little elves, I mean, assistants to sprinkle and dust the top of the pie with sugar.
Poke and prick with a fork the top once or twice. Place in an aluminum pie pan or folded tinfoil with edges turned up (in case the jelly leaks out, some). Bake in 350 degree oven for 20 minutes.
 I grew up looking forward to pie day, just to make and eat these little extras, and so did my children and now my grandbabies,as well!

Pckled Peppers

Buttoning up the pepper harvest this month. 


 I have a standard pickling recipe which works for banana pepper rings and jalapeño pepper rings.

5 cups vinegar (I used white vinegar)
3 cups water
1 cup sugar (I used natural cane sugar)
3 tablespoons salt
Optional: place a piece of bay leaf, a few peppercorns, a bit of pickling spice and a sprinkle of celery seed in each jar before filling with peppers.

Prepare peppers by cutting off stem tip and using a narrow knife inserted into pepper and twisting until all the seeds and pith can be shaken out. 


 Slice into rings.  When using jalapeño peppers you must use gloves the entire time of handling the peppers.
Sterilize the canning jars and lids, pack the jars with peppers and pour the hot vinegar into each jar.  Wipe rims of jars and cap.  Can using the water bath method in boiling water for 10 minutes, for pint jars. 
See instructions for water bath canning here:
http://www.freshpreserving.com/getting-started

Very easy and very tasty!


Tuesday, May 13, 2014

Making Kefir

 
I make fresh Kefir daily.  I enjoy it  blended with fruit for a breakfast drink.  It all started with a package of Kefir granules purchased online from Cultures for Health .  At the Cultures website you will find many instructional videos to access for free!  I ordered the Milk Kefir granules and the plastic mesh strainer.  I followed the directions for activating the granules (which are very tiny grains) and began making kefir every day.  Here is how I do that...


Start with Organic milk, the covered jar of Kefir which has sat on the counter for 24 hours, the plastic mesh strainer and a spatula and a glass container for straining the Kefir into.


Thickened Kefir ready to pour through the strainer.


Tap the strainer on the glass to help the thickened Kefir through.


Here are the Kefir grains left in the strainer, these will be scraped out with the spatula and into the washed and rinsed jar for the next days Kefir.


Kefir granules, so small, but so powerful!


Add the organic milk to cover the granules, about 2 cups I have used.


What ever flavor of fruit you want, add to the blender with the strained Kefir and blend, sweeten with honey or  just enjoy the delicious natural goodness of the Kefir and fruit!


Saturday, February 1, 2014

New Year~New Soaps!

Welcome 2014.  I have changed the way I do things around here and it is working very well!
Time to share with others, what is working for me.

Soap!
Homemade, clean and cost efficient soap!
Here are three recipes for housekeeping I am implementing and have been for some months now.  All the recipes I am passing on to you, were harvested from the Pinterest site or given to me by friends. 

LIQUID LAUNDRY SOAP

5.5 oz of grated laundry soap.  I use a bar of Zote or Fels Naptha, grated with my food processor, using the fine blade.
4 cups water
1 cup Arm & Hammer Washing Soda
1/2 cup Borax
a 5 gallon bucket with lid
An empty container to hold the weeks worth of laundry soap

I use a scale to measure the 5.5 oz. of grated soap accurately.
Pour the 4 cups water into a saucepan, heat to hot, not boiling and sprinkle the grated soap into water, stirring until all melted and dissolved.
When dissolved pour into the 5 gallon bucket and add hot tap water to fill to the 5 gallon line.  Add the Borax and Washing Soda and stir well.  My husband cut me a nice big paddle out of wood to use just for this stirring process.  Otherwise use a long yardstick or other long object so as not to burn your arm with the hot water while stirring.
Set the cover on the bucket lightly and allow to sit in place and cool.  Mixture should solidify to a gel consistency, and will need to be stirred again.  At this point I fill my liquid laundry bottle, to 3/4 with the soap.  Scooping out the gel with a measuring cup and pouring into the empty liquid laundry soap bottle.  Fill  the remainder of the bottle to the top with hot water, cap tightly and shake.
I store this bottle nearer to my washer.  I shake the bottle well before using.  It only takes 3 cap fulls to wash a heavy load!  Less soap for lesser load.


LIQUID HAND & BODY SOAP

1/2 gallon distilled water
1 bar Dr. Bonner Soap,  or Kirks Original Coco Castile Soap
(May substitute other bar soap but it must contain glycerin in the ingredients list, or purchase glycerin separately to add a spoonful to glycerin free soap.)
3 or 4 clean empty soap dispensers

Measure out 1/2 or the gallon of distilled water into a large saucepan.  Heat water to just hot, not boiling. Grate the bar of soap and add to the water.  Stirring until dissolved.  Allow to cool on counter or stovetop. Cover.  Overnight or after many hours, this will set up and become a gel.  Stir and pour through a funnel into your empty soap dispensers.   You may want to add essential oil, about 10 to 12 drops to the pan of cooled gel and stir, before pouring into the dispensers.
* This works for dishes, hair, bath anything.  If it looks like it's gelling up at anytime, just shake bottle good before using.


HOMEMADE SPRAY CLEANER

12 oz. Dawn Dish Soap ( I like the clean and clear Dawn)
12 oz. white distilled vinegar
10 drops essential oil (optional)

Measure all ingredients and pour into a large spray bottle.  Use for kitchen sinks, counters, bathroom tubs, sinks toilets, works well on stoves, too!  Spray and wipe, wipe again with rinsed cloth if needed, the surface should dry to a shine.  It won't smell vinegary, either.  Not so that it bothers you, anyway.

Wednesday, September 4, 2013

Cucuzza!!! Gagootza!!!

What an amazing sturdy squash/gourd plant the Cucuzza is!  
How do I love thee, let me count the ways to eat thee!
First, it must be cooked in  Red Gravy. 
Instructions on how to prepare Cucuzza below.
Next, I love it added to soup, a Mexican Vegetable Beef soup!  Recipe on my next post!
The best quality about the Cucuzza is the size, you get so much in one squash! 
 Next best quality is it's sturdiness. 
 When cooked, the squash really holds up, becomes translucent and tender, but doesn't dissolve into mush like, yellow squash or zucchini might do.
 
 
Cucuzza can be as long as a yard stick~

 
Cucuzza in Red Gravy
 
Peel the dark outer skin off first.  I use a veggie peeler, as used for cucumbers and carrots, etc...
Cut in half lengthwise, then into 1 to 2 inch slices.  The seeds should be tender, almost invisible and not need to be scooped out.  If they are large and tough, then defiantly scoop them out.
 
I recommend you cook your favorite recipe for tomato sauce, as you would for a Daube and sauce, or spaghetti sauce, and add the Cucuzza last, cooking until translucent and tender.
 
 Lastly, I don't think I needed to tell you this, but the Cucuzza is Italian!!!


Saturday, January 5, 2013

No luck, Jelling...

Now this is a first.  My jelly didn't jell.  Cranberry Hot Pepper Jelly.  I made it again, followed the instructions on the guide sheet for the pectin powder (first time I used liquid pectin), but it is not jelled.  Jelled the way I think of jelled.  It is too liquid-y to use on cheese crackers.  One counselor online suggested to leave it set for at least 2 weeks, undisturbed.  I will do this.  I hate to loose such a tasty treat. 

Just wanted to share...

Monday, November 19, 2012

Pumpkin Spice Latte Syrup


I wanted a good recipe for the famous Pumpkin Spice Syrup used in the yummy holiday season lattes found at most coffee stops.
I found one on Pinterest, which originated with Annie's Eats.  I really like the ingredients, but found I wanted a spicier syrup, so I doubled the spices called for.  I posted my revised recipe here today for:
Pumpkin Spice Latte Syrup
1-1/2 cup water
1-1/2 cup sugar
4 cinnamon sticks or 1/2 tsp. cinnamon powder
2 tsp. grated nutmeg
1 tsp. ginger
1 tsp. cloves
6 Tbsp. pumpkin puree
Heat water and sugar in small saucepan, stirring as sugar dissolves.  Whisk in the pumpkin, spices and add the cinnamon sticks.
Heat this mixture on med. low for 5 to 10 minutes, do not allow to come to a boil.
Cool and strain through sieve or cheesecloth into container.  There will be some spice sediment in the liquid, that's ok.  Using a funnel, pour mixture into a bottle and store in the refrigerator.
Add 3 tablespoons to cup of coffee, or more or less as desired.

Thursday, September 27, 2012

Fig Tree Named ~Hope

 
A bowl of freshly picked figs for breakfast!

An unknown fig variety. I have named ~Hope!
 Transplanted and thriving, determined to make it!  Just like my husband and I!
 
 
The fig tree my fruit came from was one which I dug out of the ground in a lady's yard.  With her permission of course! I had asked her for a shoot, but she said I could have the off-shoot growing next to her main tree. The tree was small, but the tap  roots were deep and so hard to extricate.  I brought the fig tree home and planted  it in my yard two summers ago, but  I was not sure it would make it.  The tree lost most of it's leaves at first, my husband thought it was done and said we should discard it, but with attention to watering, the little thing rallied round.  I am so glad! It has started bearing fruit and the figs are very tasty.  Since the birds agree, and I have had to cover the fig with netting, because I just don't want to share the fruit with the birds! 


Tuesday, July 31, 2012

Jambalaya ya ya


Jambalaya


Assemble all the ingredients ahead of time,
 and you have an easy meal ready in 25 minutes!


Ingredients


1 lb. Good Cajun sausage, sliced and browned in skillet

1 to 2 lbs. Raw, cleaned, de-veined shrimp
 2 c. cooked chicken diced
2 c. uncooked rice
4 c. chicken stock (have it hot and set aside)
3 T oil
½ onion,
2 stalks celery,
 ½ green pepper,
 3 cloves garlic…all chopped up
1/2  Roma tomato, chopped is optional
2 bay leaves, salt, pepper and cayenne to taste.


Use very large skillet, with a good fitting cover. Into the skillet pour oil and rice,
 (you see I am using Tony C's Yellow Rice, I like the yellow color of the finished dish!  Reminds me of Paella)
stir constantly over medium heat until the rice turns golden.


Immediately add the chopped onion, celery, garlic, green pepper, bay leaves, seasonings, omit salt if you use a pre-seasoned rice. Pour the hot chicken stock over all.

 
Immediatly pour the stock over all and stir.


Add the raw peeled, deveined, rinsed shrimp,
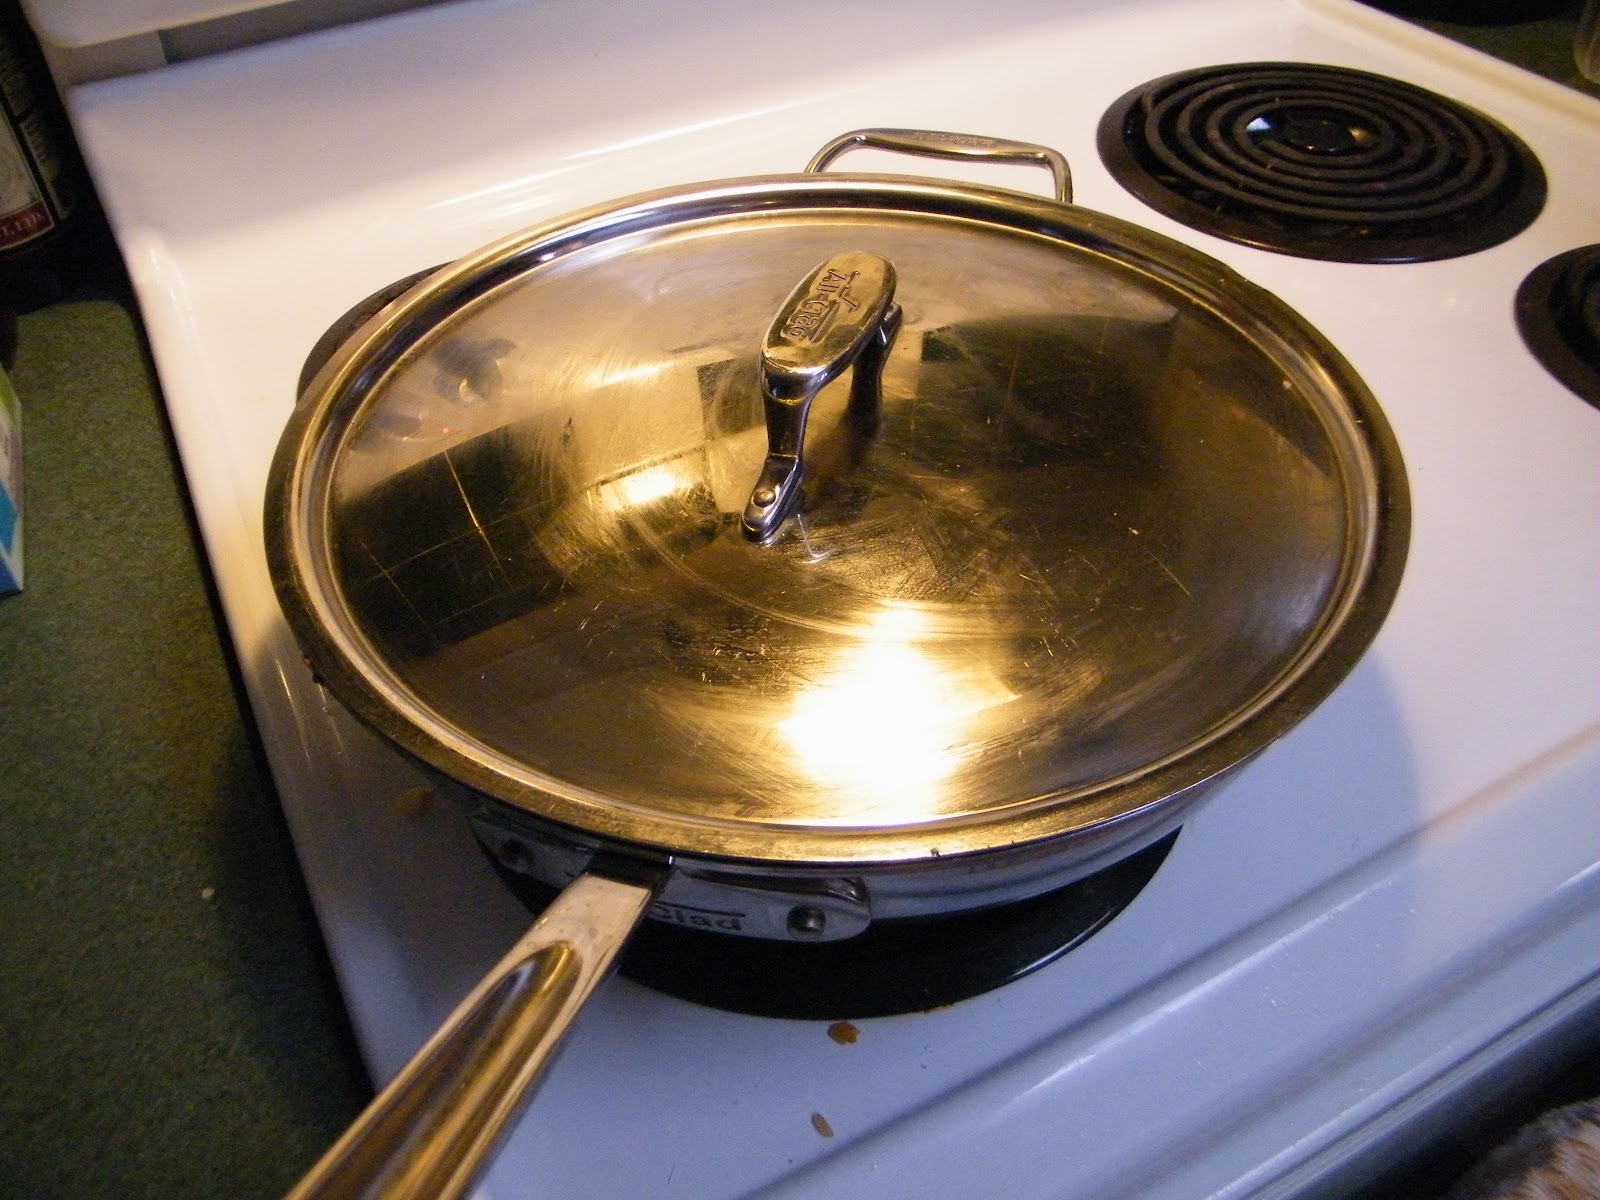
stir again and cover the pan.


Turn down heat to low, allow to steam cook with cover in place for  20 minutes. 
 
No peeking under the lid!!!


 Here is the finished Jambalaya, nicely plumped rice, all stock absorbed.  It's ready to serve!
 
YaYa~Yum!